从零开始捣鼓一个Electron应用——界面组件
上一篇捣鼓了一个Electron-vue的脚手架,把Vue的全家桶搭建了一下,也很给面子的跑了起来。接下来就是如何一步一步完成我心中的那个“她”了。
首先先巴拉巴拉自己的技能:
- Vue用过,了解Vue的MVVM思想,但是Vue2及其全家桶确实第一次用
- 能写原生JavaScript程序,但是不明白什么是ES5或是ES6,反正就是看心情写了
- React了解一点,但是没有写过,所以Vue2中类似于React的思想也是。。。😂
- 总之,不要放弃治疗,从0开始异世界之旅吧。。。
每一篇文章都把自己的思(x)考(度)过程尽量表述出来,在文章开始的时候也会将本篇用到的东西稍微列举一下的。
本篇技术栈和主要技能
本篇先把以下内容整合到一起,然后做一个简单的欢迎页面,之后需要什么再继续补充。
- 📤Vue全家桶:vue2 + vuex + vue-router + webpack
- 🐇网络请求:axios(脚手架里自带,感觉上不会用到网络请求的)
- 🎈页面UI:Element-UI(本篇重点就是把它招募进来)、vue-awesome(这不是文章汇总)
组件安装
引用Element-UI
Element-UI的安装文档可以参考这里
通过npm安装
npm install element-ui -S
然后想要完整引入Element,在main.js加入以下几行
import ElementUI from 'element-ui'
import 'element-ui/lib/theme-default/index.css'

Vue.use(ElementUI)
随便测试一下应该就能用了。
引入vue-awesome
vue-awesom 是对 Font Awesome 的一个封装,首先还是通过npm安装
然后还是在main.js内全局引入
import 'vue-awesome/icons'
import Icon from 'vue-awesome/components/Icon'

Vue.component('icon', Icon)
测试一下肯定也能用。
创建布局
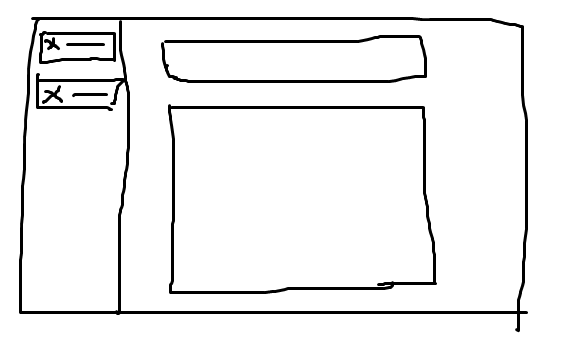
下面开始实现一些功能,首先想在左面加入一个导航栏,用来选取功能,右面显示具体的功能,整个页面大概是这个样子的。
左边导航栏固定宽度,右边浮动。布局页面 PageFrame.vue 定义导航栏和显示内容的位置
<template>
<div>
<div class="sidebar">
<el-menu default-active="1">
<router-link v-bind:to="'/home'">
<el-menu-item index="1">
<icon name="home"></icon> 首页
</el-menu-item>
</router-link>
<router-link v-bind:to="'/sysinfo'">
<el-menu-item index="2">
<icon name="car"></icon> 测试
</el-menu-item>
</router-link>
</el-menu>
</div>
<div class="content">
<router-view></router-view>
</div>
</div>
</template>
<script>
export default {
name: 'page-frame'
}
</script>
<style>
a {
text-decoration: none;
}
.sidebar {
position: fixed;
width: 300px;
left: 0;
top: 0;
bottom: 0;
background-color: #eef1f6;
}
.content {
margin-left: 300px;
position: relative;
width: calc(100% - 300px);
min-height: 100vh;
background: radial-gradient( ellipse at top left,
rgba(255, 255, 255, 1) 40%,
rgba(229, 229, 229, .9) 100%);
}
</style>
原入口 App.vue 改为只渲染页面布局,即上面提到的内容。
<template>
  <div id="app">
    <page-frame></page-frame>
  </div>
</template>

<script>
import PageFrame from './components/PageFrame'

export default {
  name: 'markdown-yaml-info-manager',
  components: { PageFrame }
}
</script>

<style>
.fa-icon {
  height: 1em;
  width: 1em;
  bottom: -0.125em;
  position: relative;
}
</style>
别忘了定义一下vue-route,在 route/index.js 下,至于什么是vue-route,照着写就可以了。大体意思是,/home 载入原先的欢迎页,/sysinfo 输出一下系统信息,如果是其它的就跳转到 /home。这些配置信息可以配合 <router-link> 标签使用,用来转换 <route-view> 标签位置显示的内容。
import Vue from 'vue'
import Router from 'vue-router'

Vue.use(Router)

export default new Router({
  routes: [
    {
      path: '/home',
      name: 'landing-page',
      component: require('@/components/LandingPage')
    },
    {
      path: '/sysinfo',
      name: 'system-information',
      component: require('@/components/LandingPage/SystemInformation')
    },
    {
      path: '*',
      redirect: '/home'
    }
  ]
})
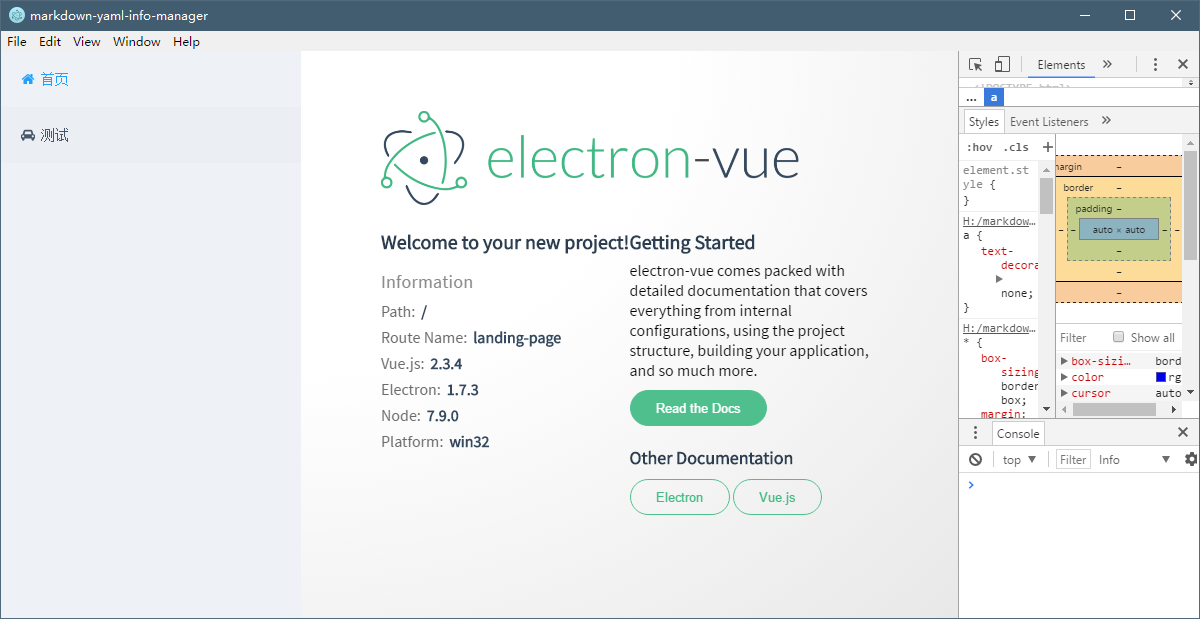
其它的页面css和布局稍微调整一下,整个布局就ok了。最后效果页。
问题说明
图标与字体对其问题
调整一下图标大小,微调一下位置,参考
.fa-icon {
  height: 1em;
  width: 1em;
  bottom: -0.125em;
  position: relative;
}
eslint问题
eslint会检查代码格式,所以平时要注意把格式化弄的跟eslint一样,不然每次格式化都会出错。
这里举个例子,通过配置 .eslintrc.js 可以控制检测的选项,比如下面的选项禁用了函数空格的检查,因为一直调不好
  'rules': {
    "space-before-function-paren": ["error", {
        "anonymous": "never",
        "named": "never",
        "asyncArrow": "never"
    }]
  }
template只能有一个根元素
vue的模板的根元素只能有一个根元素
Component template should contain exactly one root element
所以只能写
<template>
  <div>abcde....
    <div></div>
  </div>
</template>
而不能写成
<template>
  <div>abcde....</div>
  <div></div>
</template>
打包编译
打包编译可以运行命令
只发现可以编译成exe文件,无法生成mac上的文件,后来发现在 electron-builder 的文档里发现了,编译只能生成本身平台的文件Multi Platform Build
Don't expect that you can build app for all platforms on one platform.
算了,其它平台到时候借个电脑编译一下吧。
稍微总结一下
了解了主要的项目结构,初步使用了vue-router相关内容,对于vue组件的编写也有了一定的了解。
不太了解的地方是store的内容,这部分还没有接触到。
然后代码可以上传了。🌑
参考内容